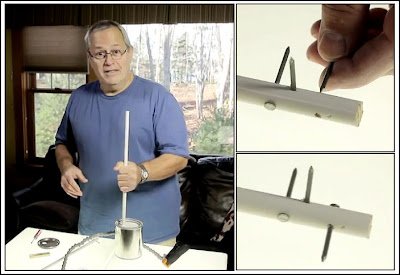
So here are the details on a very low cost DIY light stand/support project, I did buy a new can but used a wooden dowel and Plaster of Paris I had left over from other projects.

Here are the steps (that I used) to make a light stand in a paint can along with several images.
1. The paint can was bought at a local paint store, it was a quart size can for $1.50, new gallon size cans were $2.99, if you have any old paint cans laying around that will save you the cost of a can.
2. Close to the bottom of the dowel that was going into the paint can we pre-drilled three holes and nails were slid into/through through the holes, I always pre-drill holes when working close to the end or when the wood is small because if you don't the wood will most likely split. The nails were used to help stir and to give the shaft stability and prevent it from working it's way out as chances are extremely good that you will lift and move the "light stand" by grabbing the upright, NOT the can.
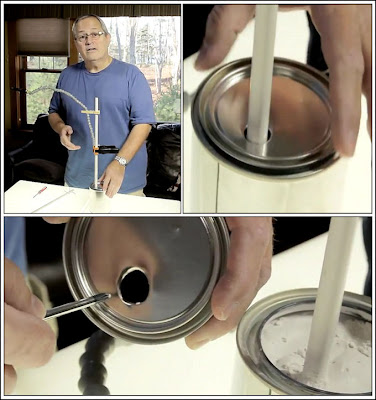
3. Plaster of Paris and water were mixed directly in the can and stirred, it will thicken quickly so have a level (and what ever else you might need) close at hand.
4. The can came with a cover and I used it to give a more "finished" look to the end product. I drilled a hole in the cover and then used the shaft of a screwdriver to expand the hole to fit. The metal is soft and you can easily work it.
And that pretty much covers it, you can find the original post (with video) here.
If you make one of these please let us know how you do by dropping us a email and uploading a picture of your paint can to our Flickr group.


